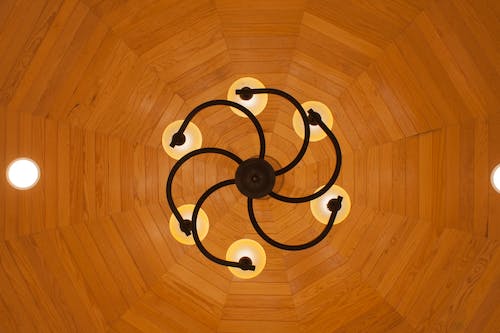
Close-to-ceiling lights, also known as flush mount or semi-flush mount lights, are popular lighting fixtures that not only add illumination to a room but also enhance its overall aesthetics. If you’re looking to upgrade your lighting and install close-to-ceiling lights, fear not – the process is more straightforward than you might think. In this guide, we’ll take you through a step-by-step installation process, ensuring you can bring a new level of brightness to your living spaces.
Materials And Tools You’ll Need
Before diving into the installation process, gather the necessary materials and tools. You’ll typically need the following:
- Close-to-ceiling light fixture
- Mounting bracket
- Screws and anchors
- Wire nuts
- Wire stripper
- Screwdriver
- Voltage tester
- Ladder
Step 1: Turn Off Power
Safety should always be the top priority when working with electrical components. Begin by turning off the power supply to the existing light fixture or the entire circuit at the breaker panel. Use a voltage tester to ensure there is no electrical current running to the fixture.
Step 2: Remove The Existing Fixture
If there’s an existing light fixture in the location where you plan to install the close-to-ceiling light, carefully remove it. This typically involves unscrewing the fixture from the mounting bracket and disconnecting the wires. Keep in mind that the steps may vary depending on the type of fixture you’re replacing.
Step 3: Install The Mounting Bracket
Most close-to-ceiling lights come with a mounting bracket that attaches to the electrical box in the ceiling. Secure the mounting bracket in place using the screws provided, ensuring it is level. If your ceiling doesn’t have an electrical box, it’s crucial to install one before proceeding with the mounting bracket.
Step 4: Connect The Wiring
Once the mounting bracket is in place, connect the wires from the electrical box to those on the close-to-ceiling light fixture. Match the corresponding colored wires – black to black, white to white, and, if applicable, ground to ground. Use wire nuts to secure the connections and prevent any exposed wires.
Step 5: Attach The Fixture To The Mounting Bracket
With the wiring securely connected, carefully lift the close-to-ceiling light fixture and align it with the mounting bracket. Secure the fixture in place by tightening the screws provided. Ensure that the fixture is flush against the ceiling for a seamless and professional finish.
Step 6: Double-Check Connections And Secureness
Before restoring power, double-check all wire connections to ensure they are tight and secure. Additionally, confirm that the close-to-ceiling light fixture is firmly attached to the mounting bracket. Any loose connections or fixtures may pose safety hazards or affect the functionality of the lighting.
Step 7: Restore Power And Test
Once everything is securely in place, restore power to the circuit at the breaker panel. Turn on the light switch to test the functionality of your newly installed close-to-ceiling light. If the light doesn’t turn on or there are any issues, revisit the installation steps to identify and correct the problem.
Conclusion
Installing close-to-ceiling lights is a manageable DIY project that can significantly enhance the lighting and aesthetics of your living spaces. By following this step-by-step guide and prioritizing safety, you can confidently bring a new level of illumination to your home. Whether you’re upgrading an existing fixture or adding a new one, the installation process is a rewarding endeavor that brightens both your space and your DIY skills.

